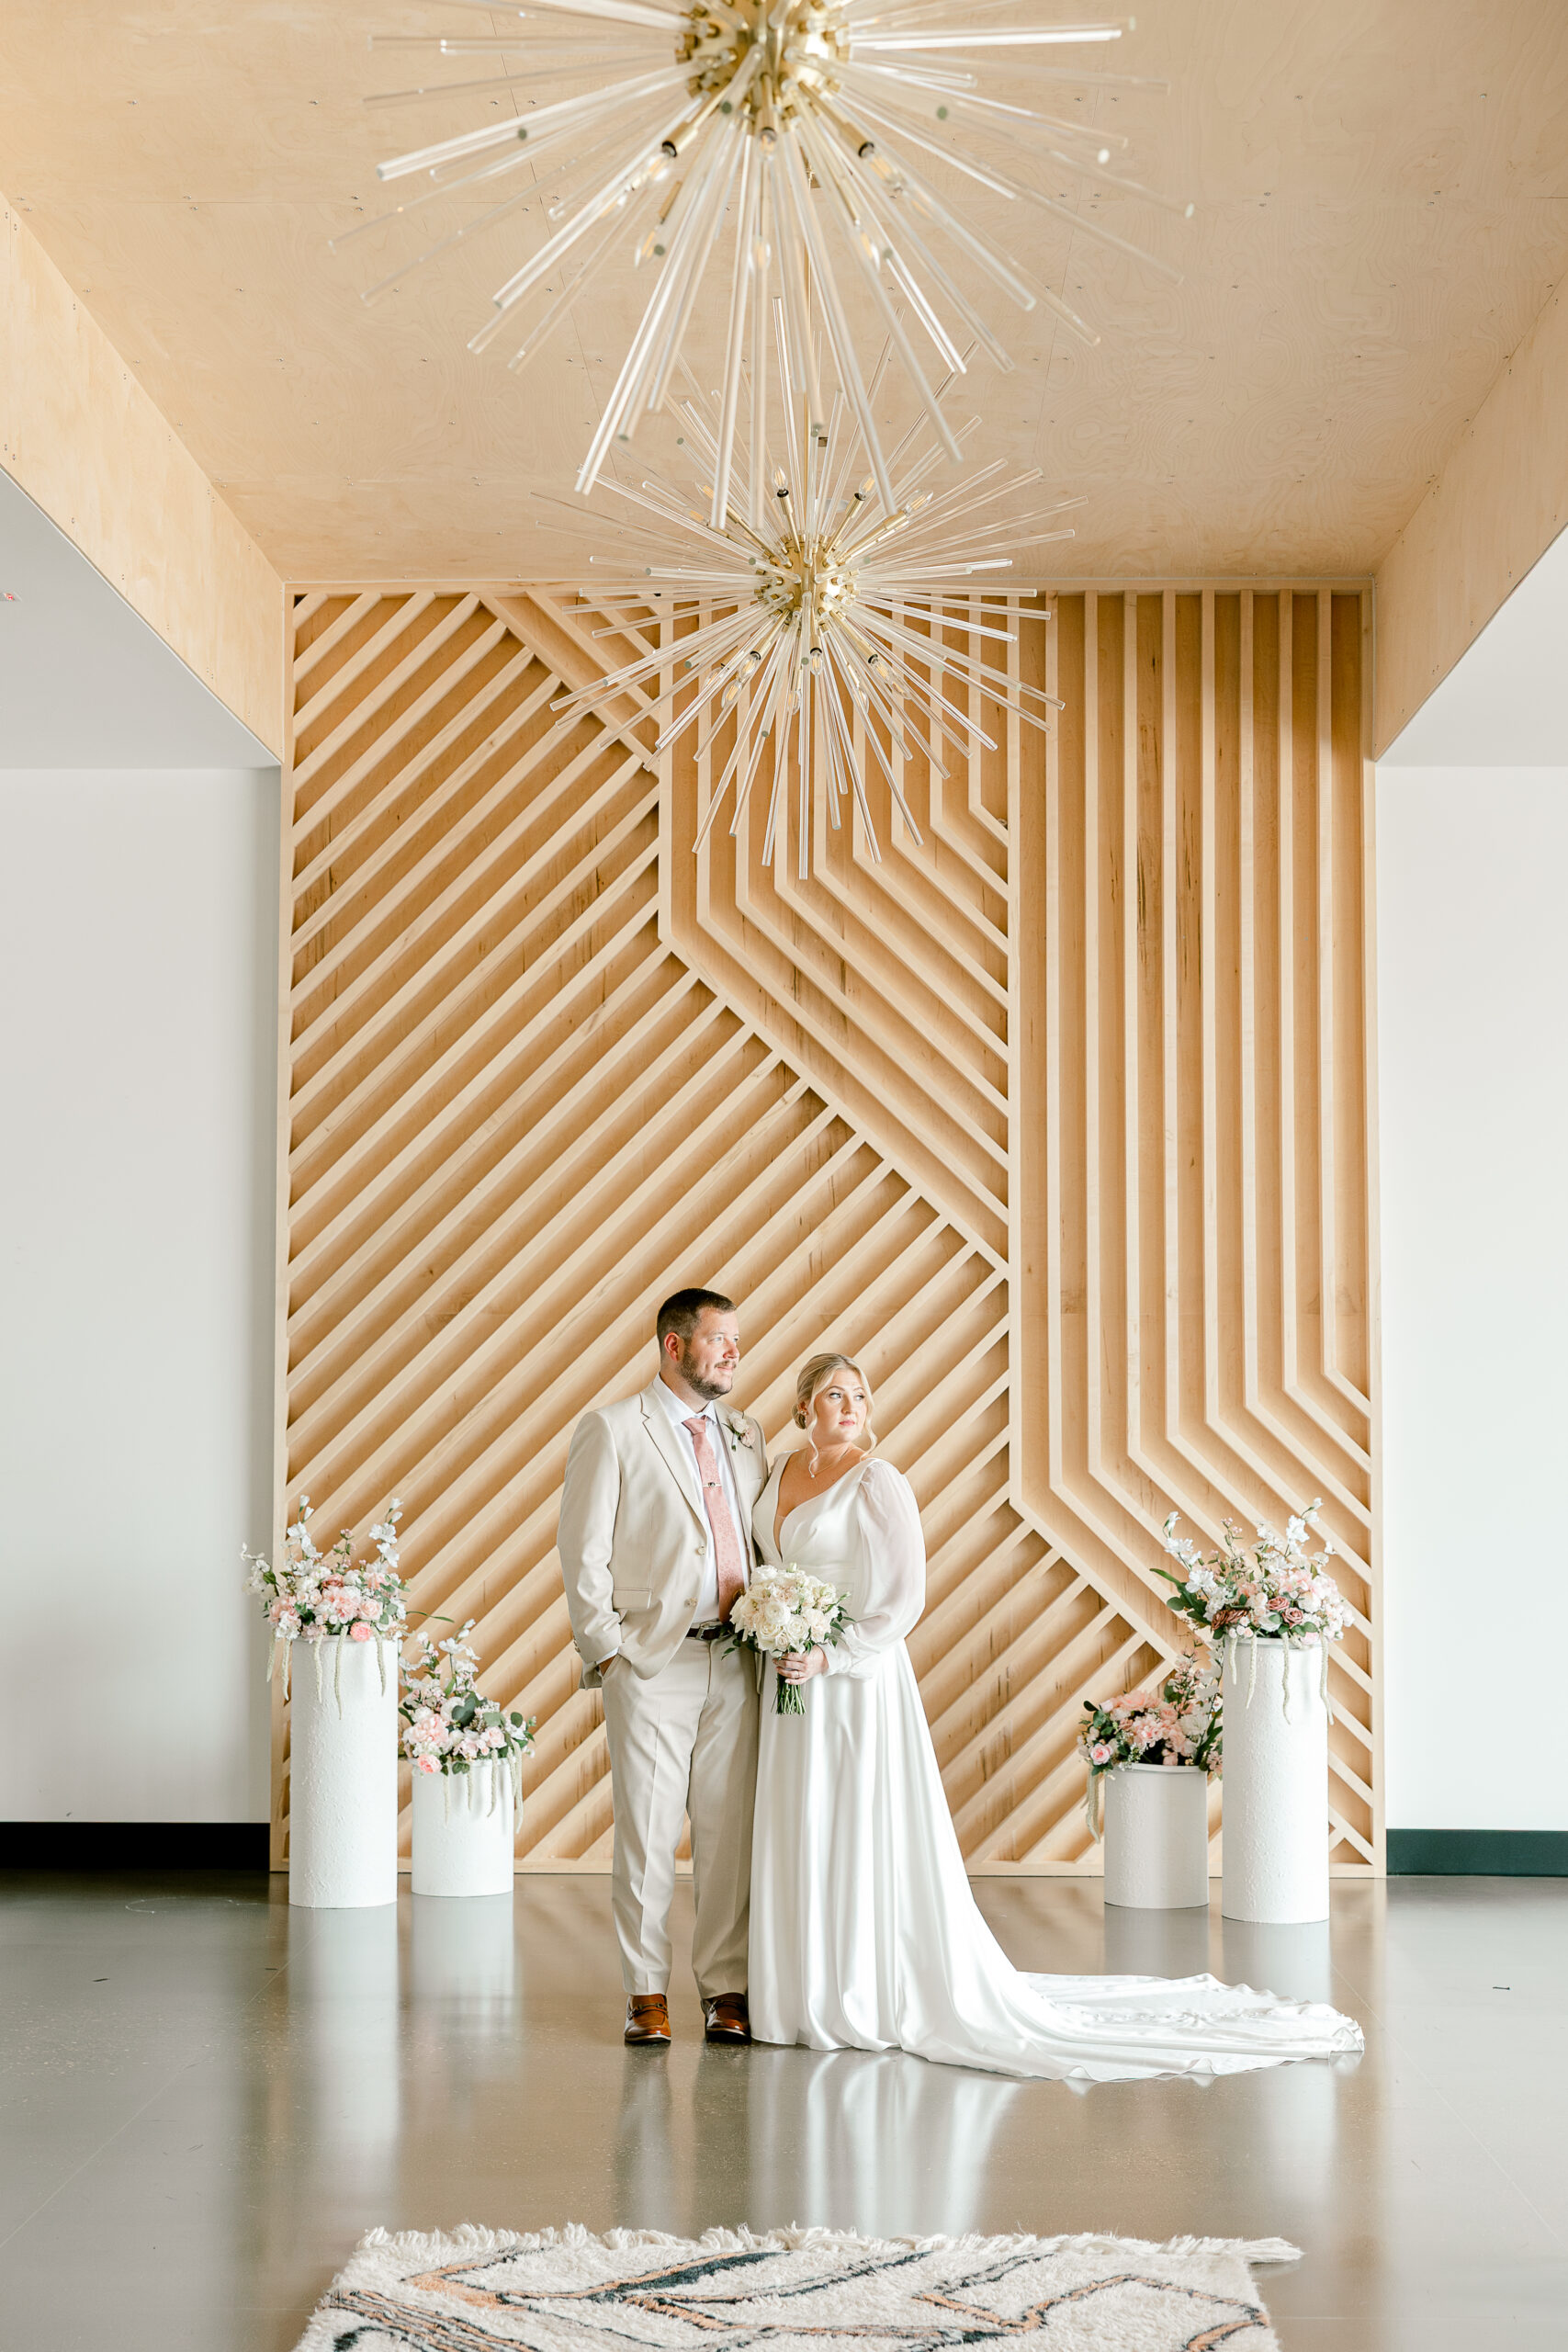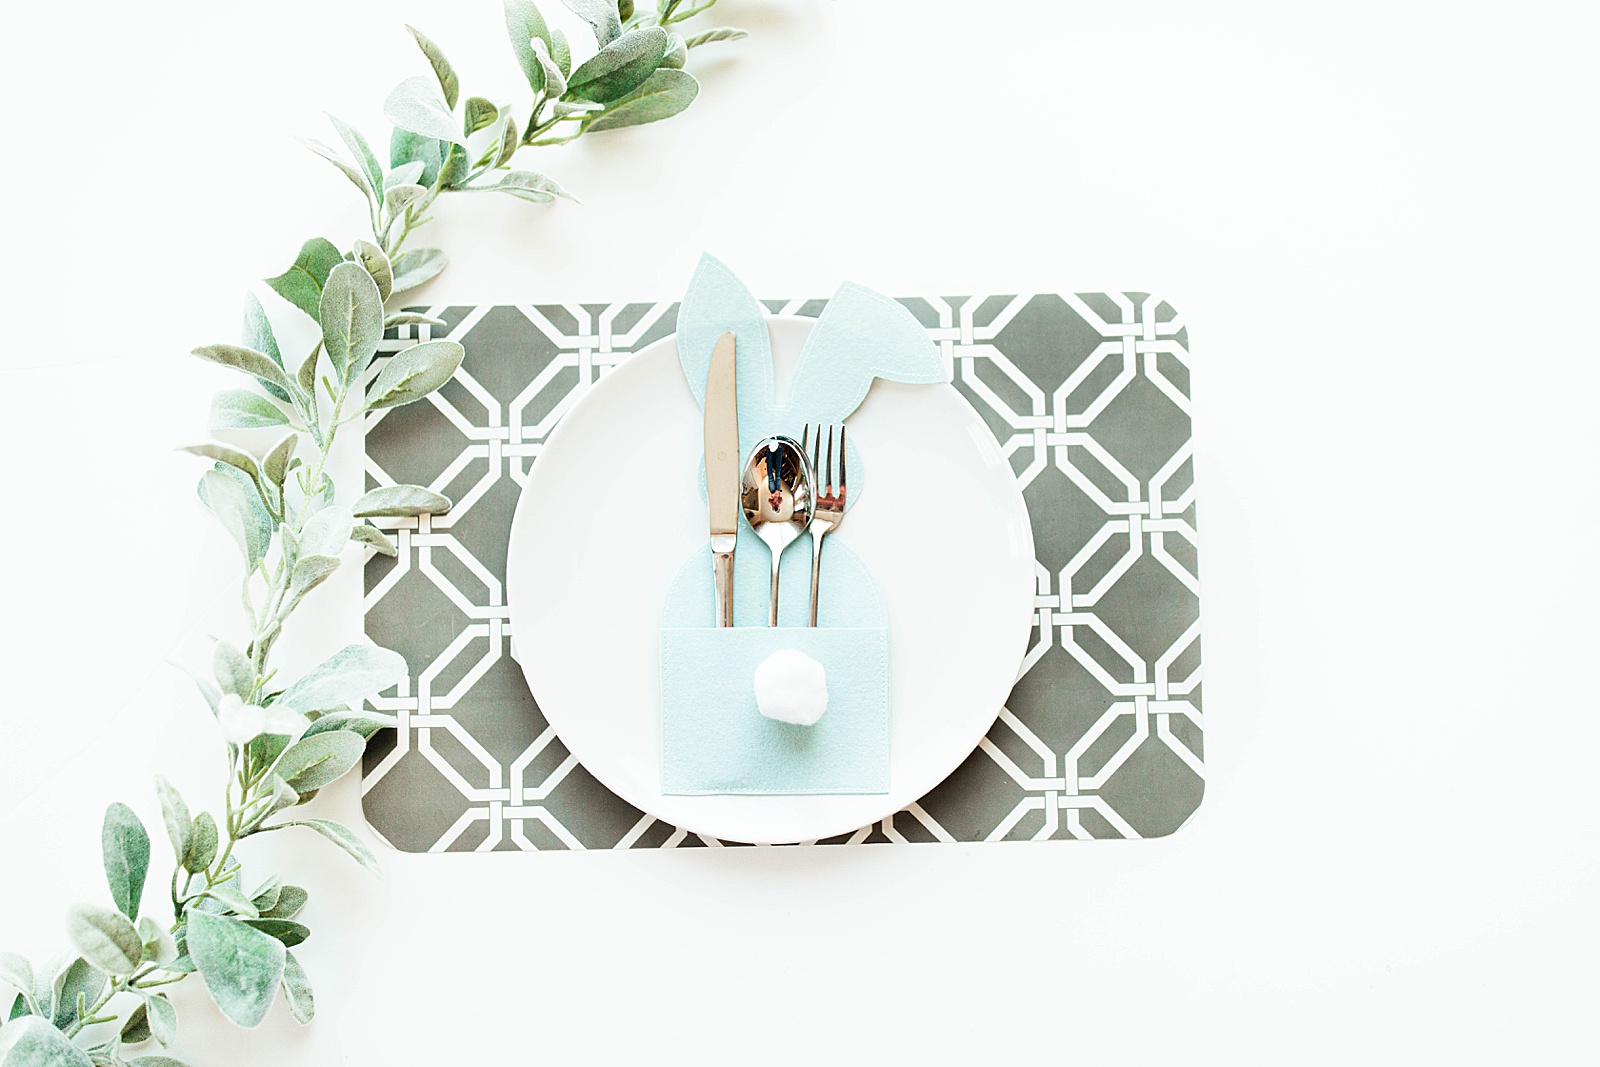
At Easter time when I was a kid I remember walking around the table, filling glasses with water, and setting the silverware next to each plate. It wasn’t too fancy. The reason it’s such a fond memory for me is because I would do it with my Grandma. She would teach me what side of the plate each utensil goes and when we had napkins she would help me make fun shapes with them to set on the plates. Even though she is gone I still love to set the table and think of her.
For the past several years we have always had Easter lunch with my husband’s family. It’s usually at one of their houses as well. Unfortunately we don’t set a big table for all of us because there just isn’t room. However if we did sit at a big table I would want to make these fun utensil holders for everyone (even if we’re using plasticware). Who knows, maybe we can use them just for the kids.
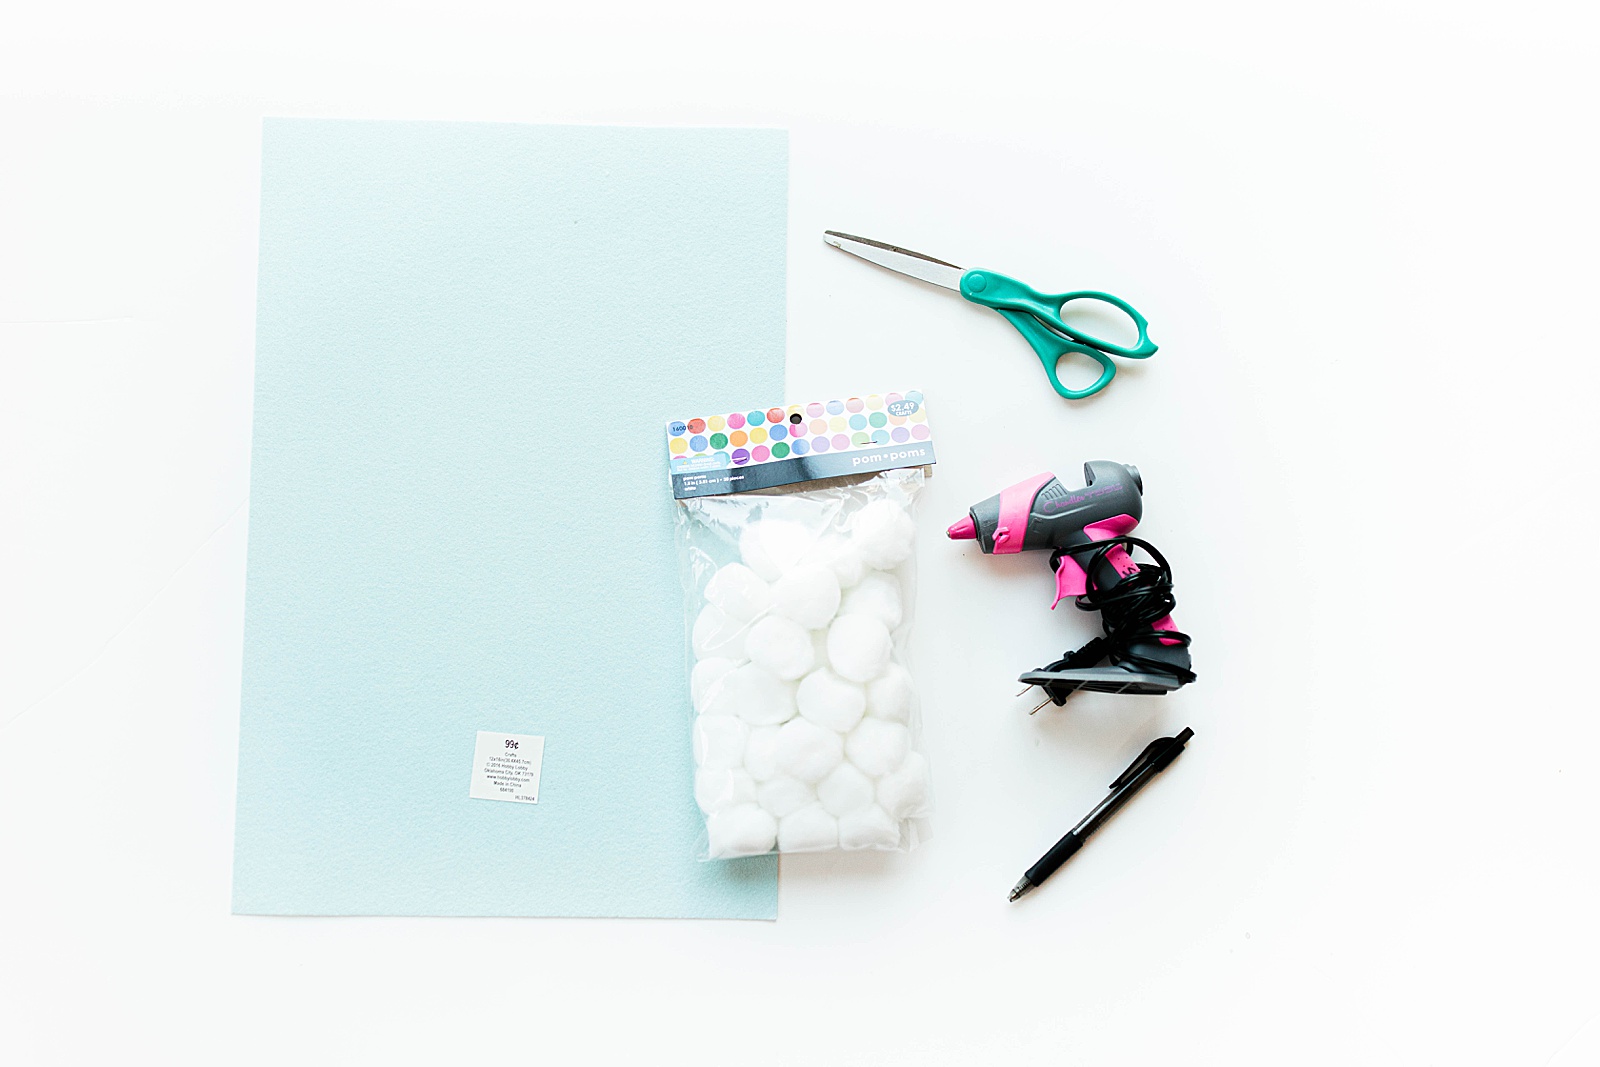
Here are some of the materials I used. I got everything at Hobby Lobby. Potentially could make 5-6 place settings
–Printed Template
-3-4 sheets of stiff felt in the 18″x12″ size (color of your choice)
-1.5″ pom balls (I used white)
-Pair of scissors
-Something for tracing, I used a pen
-Hot glue gun (for kids I recommend a low temp one)
-Sewing machine- however you could use just hot glue for a no sew option
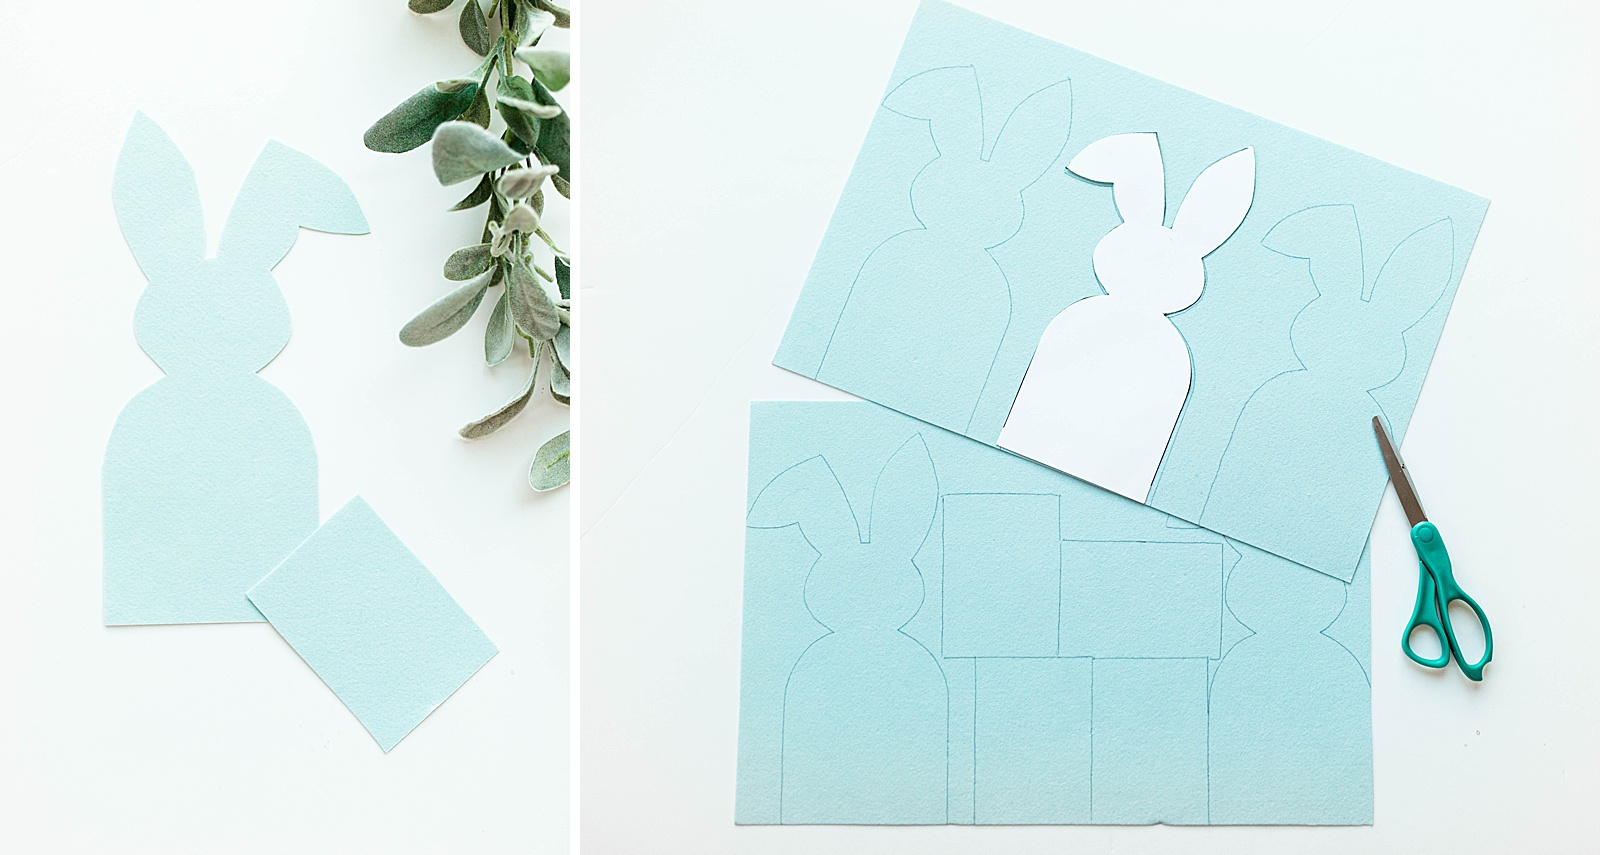
Using my cutting template you’ll want to cut out the shapes, trace it on the felt and then cut them out. You should be able to get two bunnies per sheet but if you want to try and minimize waste you can trace three on a sheet, two on the other along with the pocket pieces.
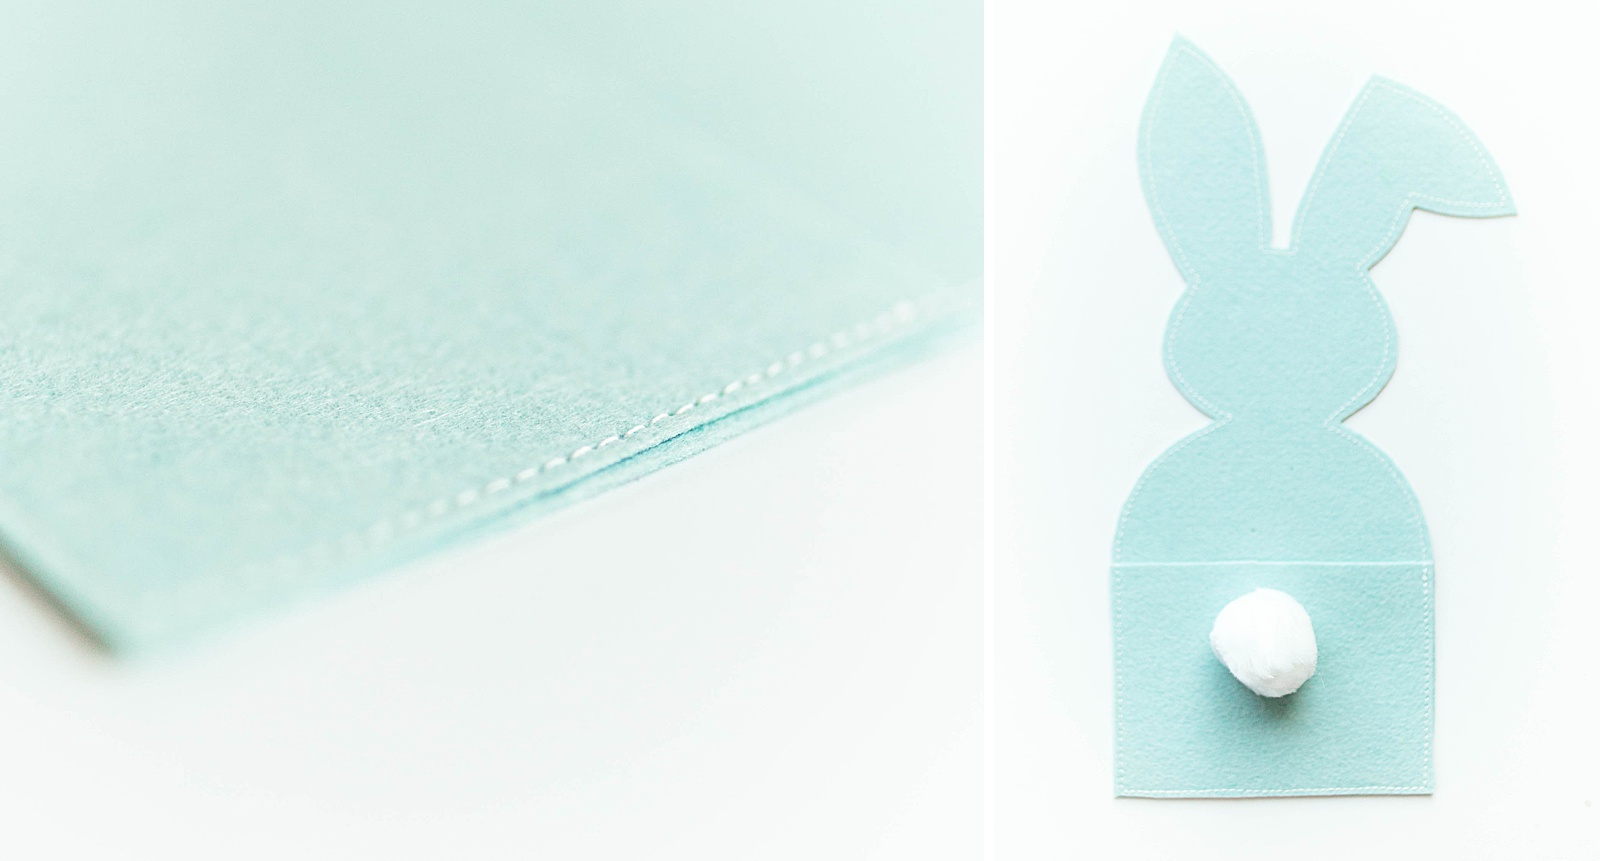
Once you’ve cut everything out, place the pocket piece on top (traced side down) and sew along the entire edge of the bunny. You could sew just the pocket but I liked the look of sewing around the entire thing. If you would like the no sew option you can hot glue around the edge of the pocket leaving the top side glue free. See template for gluing directions.
Ta-dah! I hope you love this project, it’s cheap and easy to do. I think I got everything from Hobby Lobby for less than $10. Kids could also do it which is fun!
