")

We all know that our phone cameras are at our disposal. Even as a photographer I take more photos on my phone than on my camera. Pictures on our phones aren’t necessarily the ones we’ll want print and put in large frames. However, we do share them almost instantly. Even though you might not have the same make and model phone as me, you’re still able to take better photos of your subjects by using these tips.
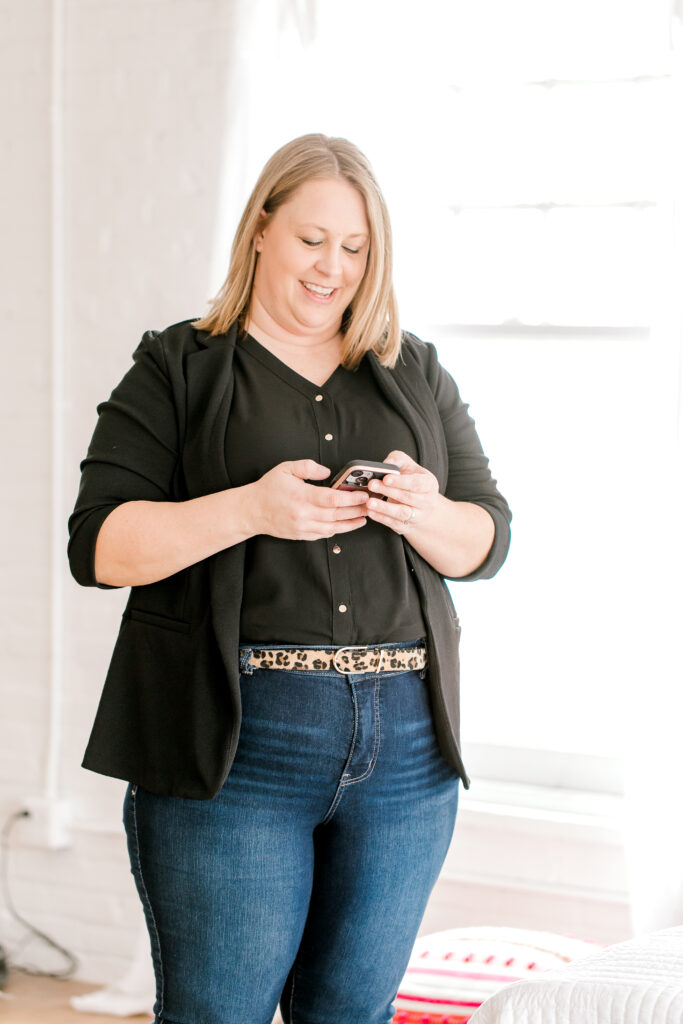
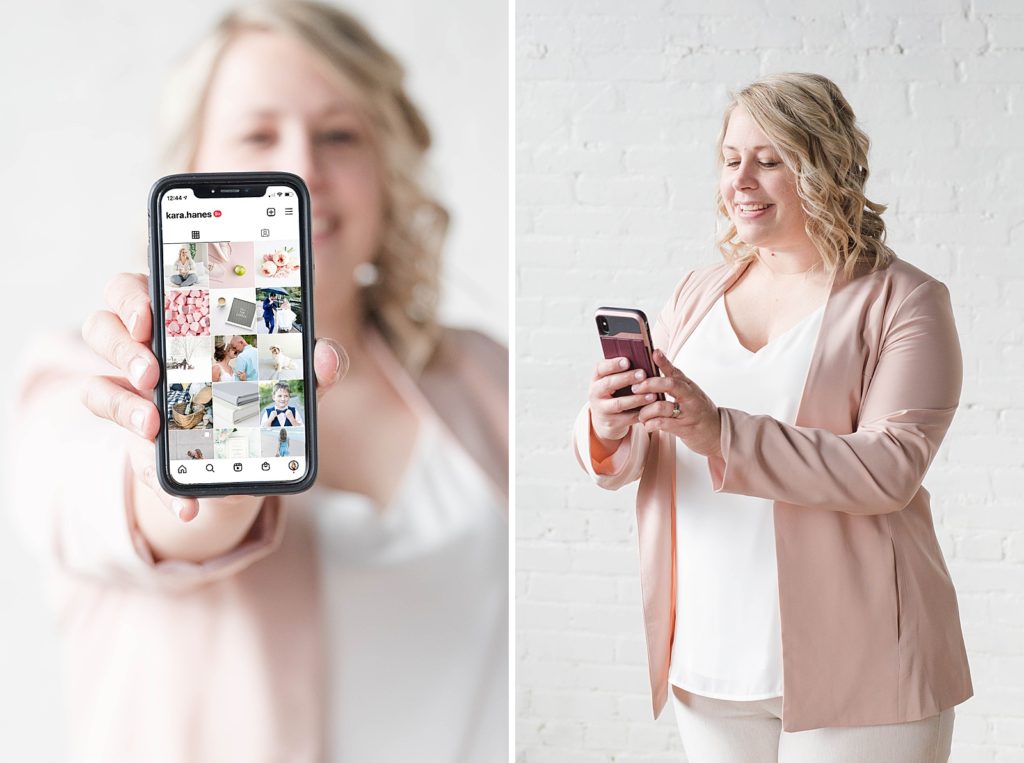
If you’re someone scrolling through Instagram and you’re seeing these influencers that have cohesive squares in their grid it’s because they are being very particular in their posting. A lot of this starts with taking photos consistently, so today I’m going to shed a little light on how you can make this happen for you! Here are my 3 Tips:
Lighting
Good Light vs Bad Light:
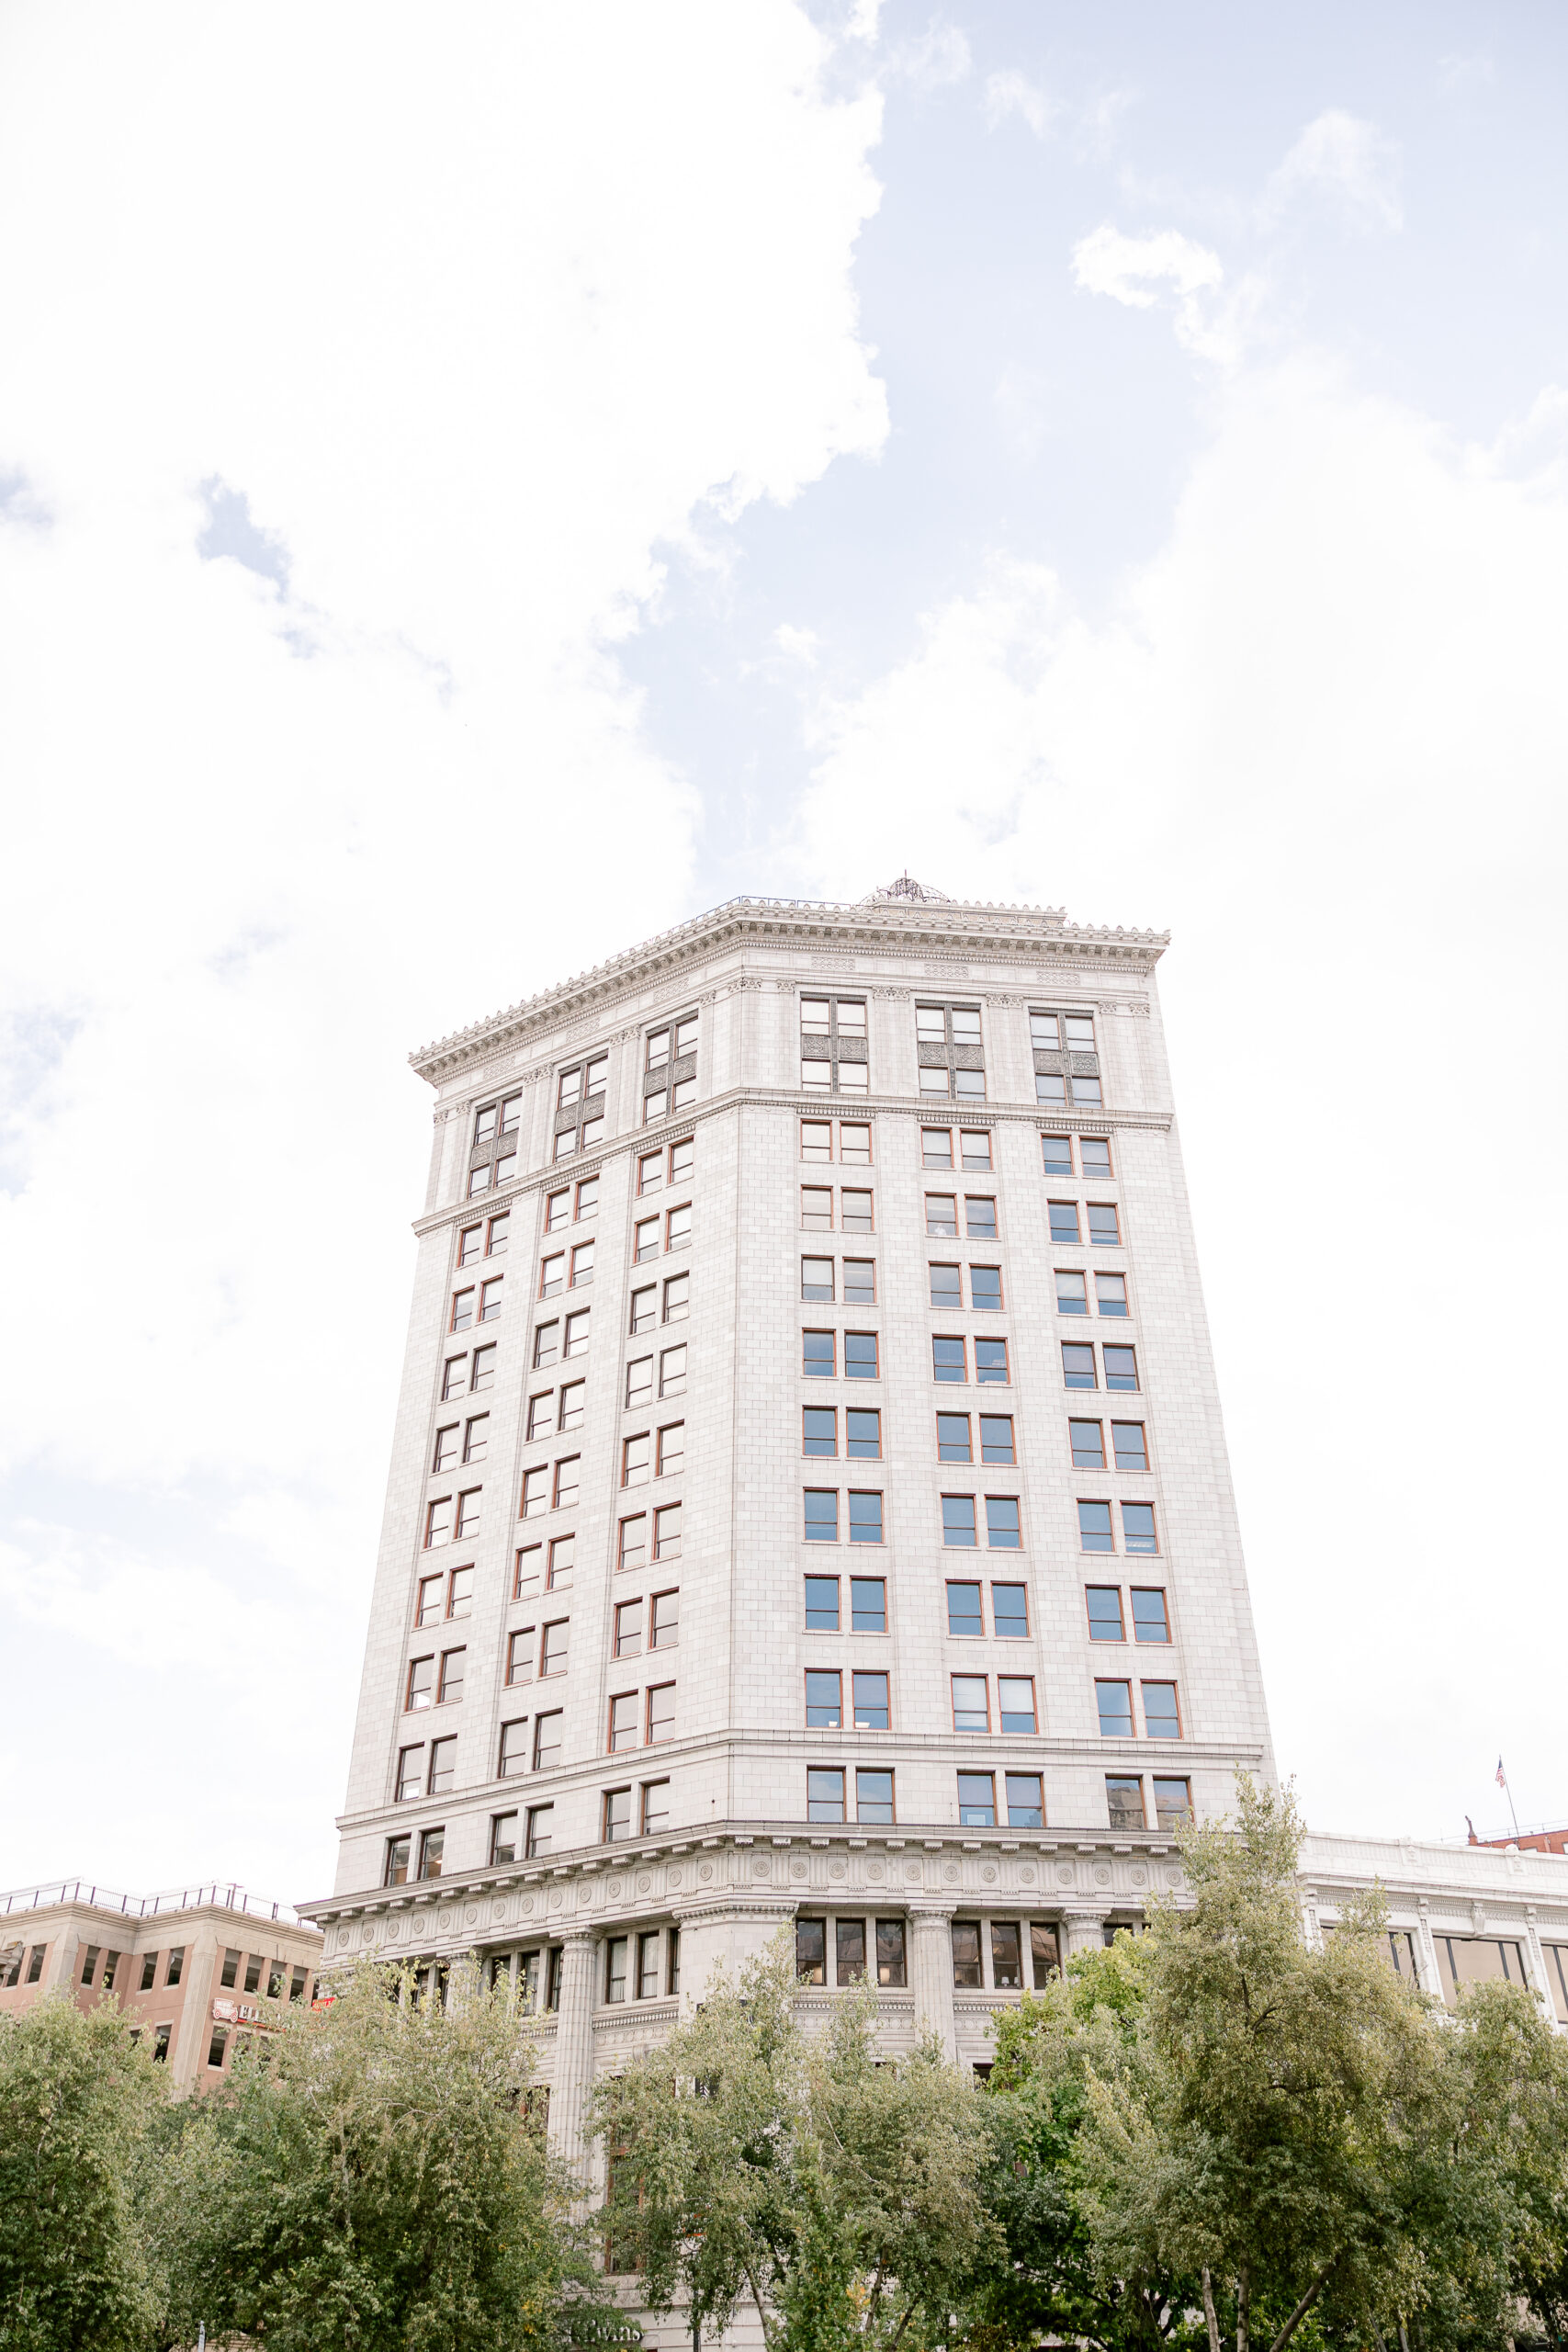
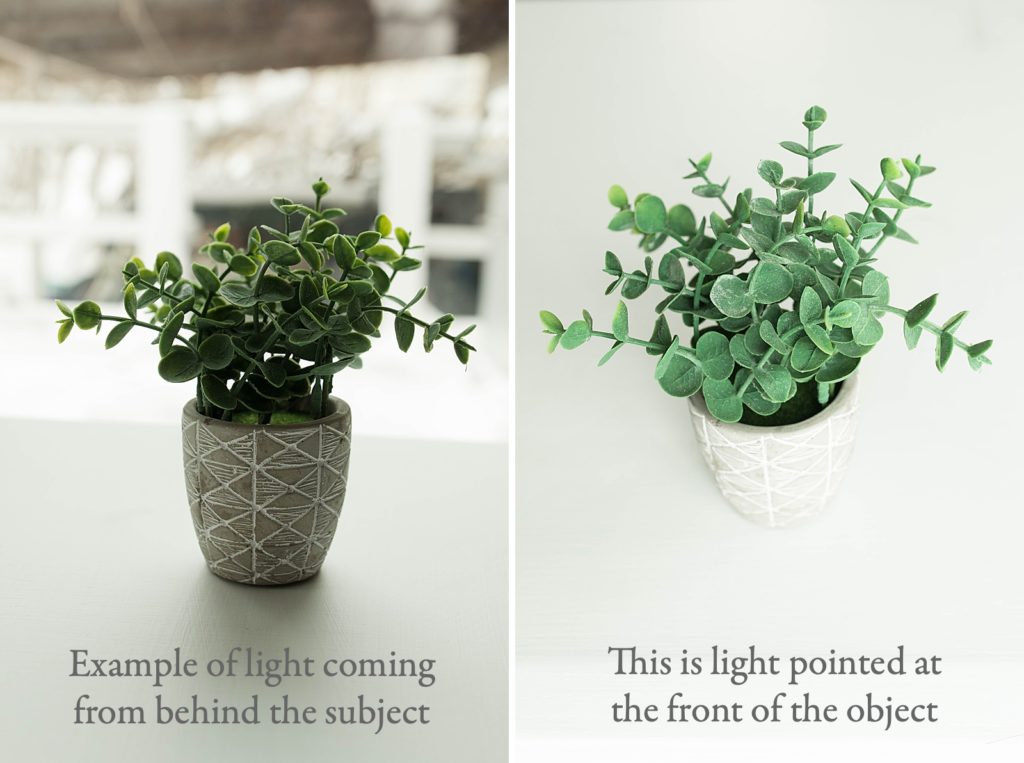
When looking for a location choose light over location. Good light is where space is illuminated. Hotspots of sun will over expose your image in unwanted areas. The best light is on an overcast day. If It’s sunny, then make sure the sun is behind your subject and you’re standing in some sort of shadow to avoid a sun glare. If you can change your time then opt for early morning just after the sun rise or later evening hours 1-2 hours before sunset.
Indoor light:
When you’re photographing an item indoors it’s best to have the light from a window located on the front of your face. We’ve all had that moment where we’re sitting on a couch thats up against a window and when we take the photo our faces are completely dark. That’s because the light coming through that window is casting shadows. You can do one of two things. First move and face the window (which would be the best option) or second, turn on the flash to illuminate the front of you.
Position
Subject’s Position:
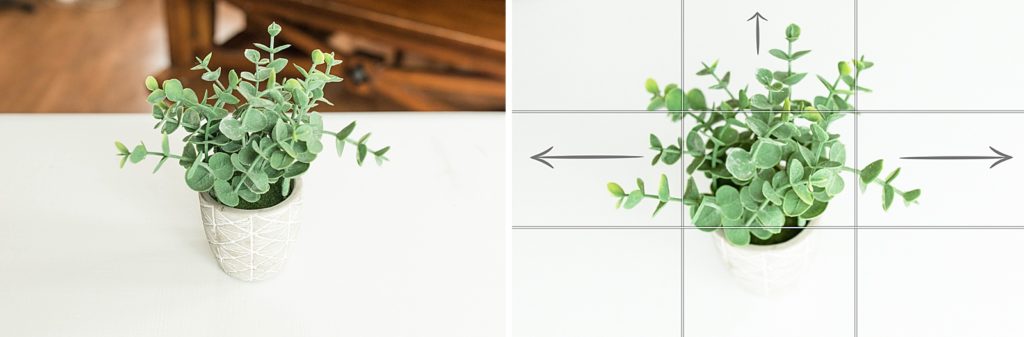
Positioning your subject can make or break a photo. Something you can use as a guide is Rule of Thirds. This is something to discourage placement of an item at the center, or prevent a horizon from appearing to divide the picture in half.
Operator Position:
When you’re taking a photo for someone you want to make sure that you don’t put the horizon line (such as where the sun sets or something the breaks up the image) in the middle of the head or focal point of your image. For instance the plant below has the edge of the table cutting it off which then takes your focus of the subject because it’s unpleasing to the eye. Instead, reposition yourself to remove the line or to place it above the object.
Should you use zoom?
Have you ever taken a photo of the subject with the digital zoom and had all your photos turn out blurry? That’s because you’re just getting closer to all the little boxes. The best thing for you to do is take a photo and then after, crop it in closer. It might not be a super amazing photo but it’ll look way more clear than if you digitally zoomed in.
Editing
The power of cropping:
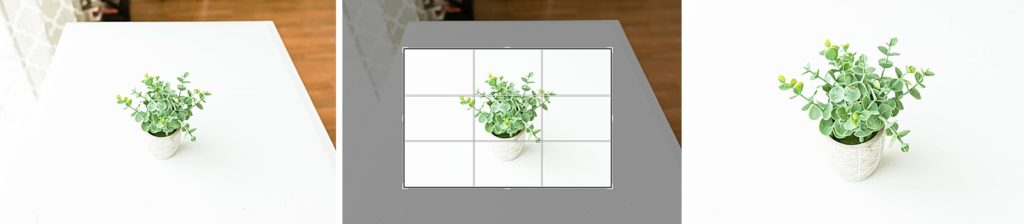
Sometimes getting rid of all the negative space around the subject removes distractions which will increase the value of an image. Below I took an example of the plant on the table with all the unnecessary items around it.
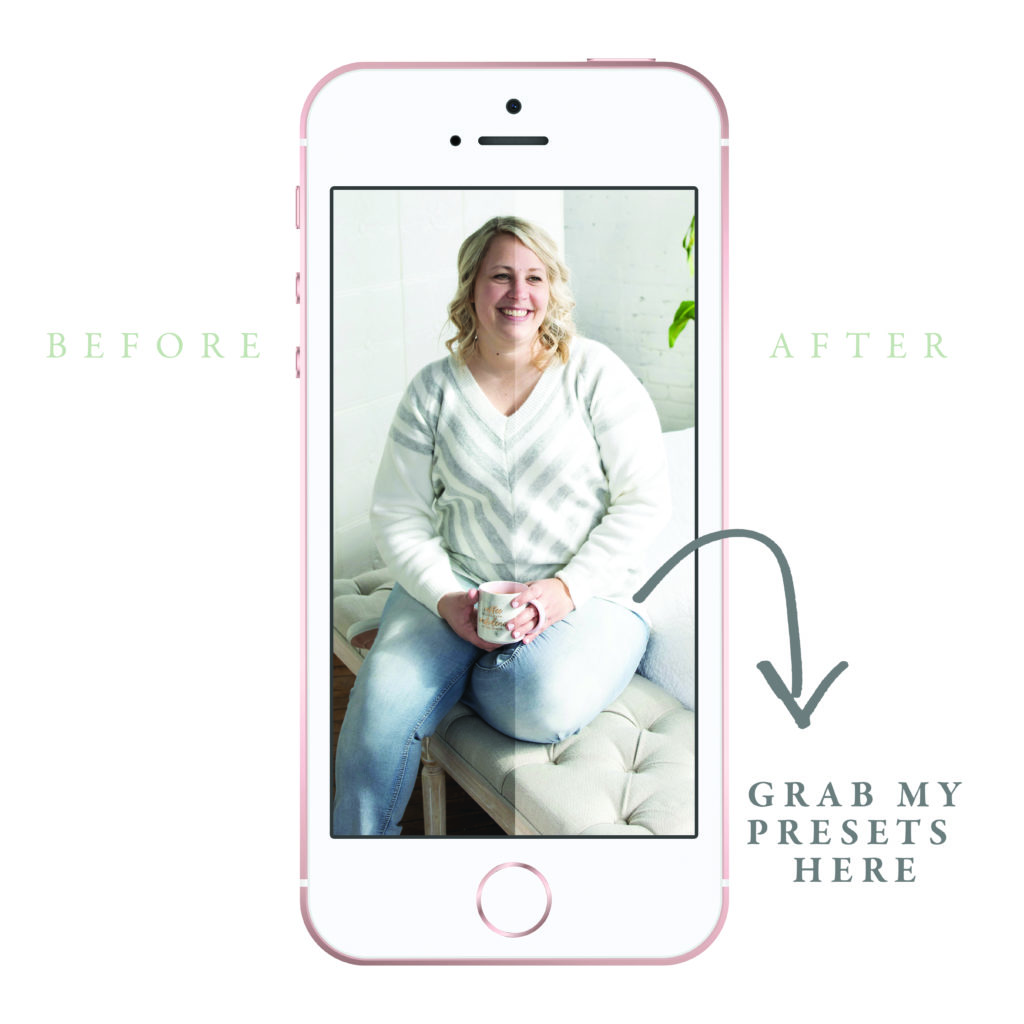
Presets:
Sometimes tweaking your photos a little bit with the exposure and contrast can make all the difference as well. Today I want to offer you something I never thought I’d share before. I’m giving you all of the exact same presets I use on my phone. You don’t have to be a photographer to know how to use them either. I’ll give you step by step directions on how to download and use them. KHP Presets. The best part about this is it’s absolutely free!