")

A little less than two months ago we moved into our new house. I kept looking at our stairway wall that comes to a cathedral ceiling. I wasn’t quite sure what I wanted to do with this space but I did know that as a photographer I don’t have very many photos in my house and now was the time I wanted to change that.
I wanted to do a gallery wall on my stairway but I didn’t know what kind. I had purchased two different types of frame collages on Amazon but when I laid them out on the floor and I was not feeling it. After going through insta stories I saw another photographer friend and her gallery wall and thought to myself, “I want to do that” I kept wondering why I was trying to piece meal different sized frames when I could just do everything symmetrical. This was a clean look that I now realize was the best choice. The frames I purchased I’ll link below so that you can see which ones I got.
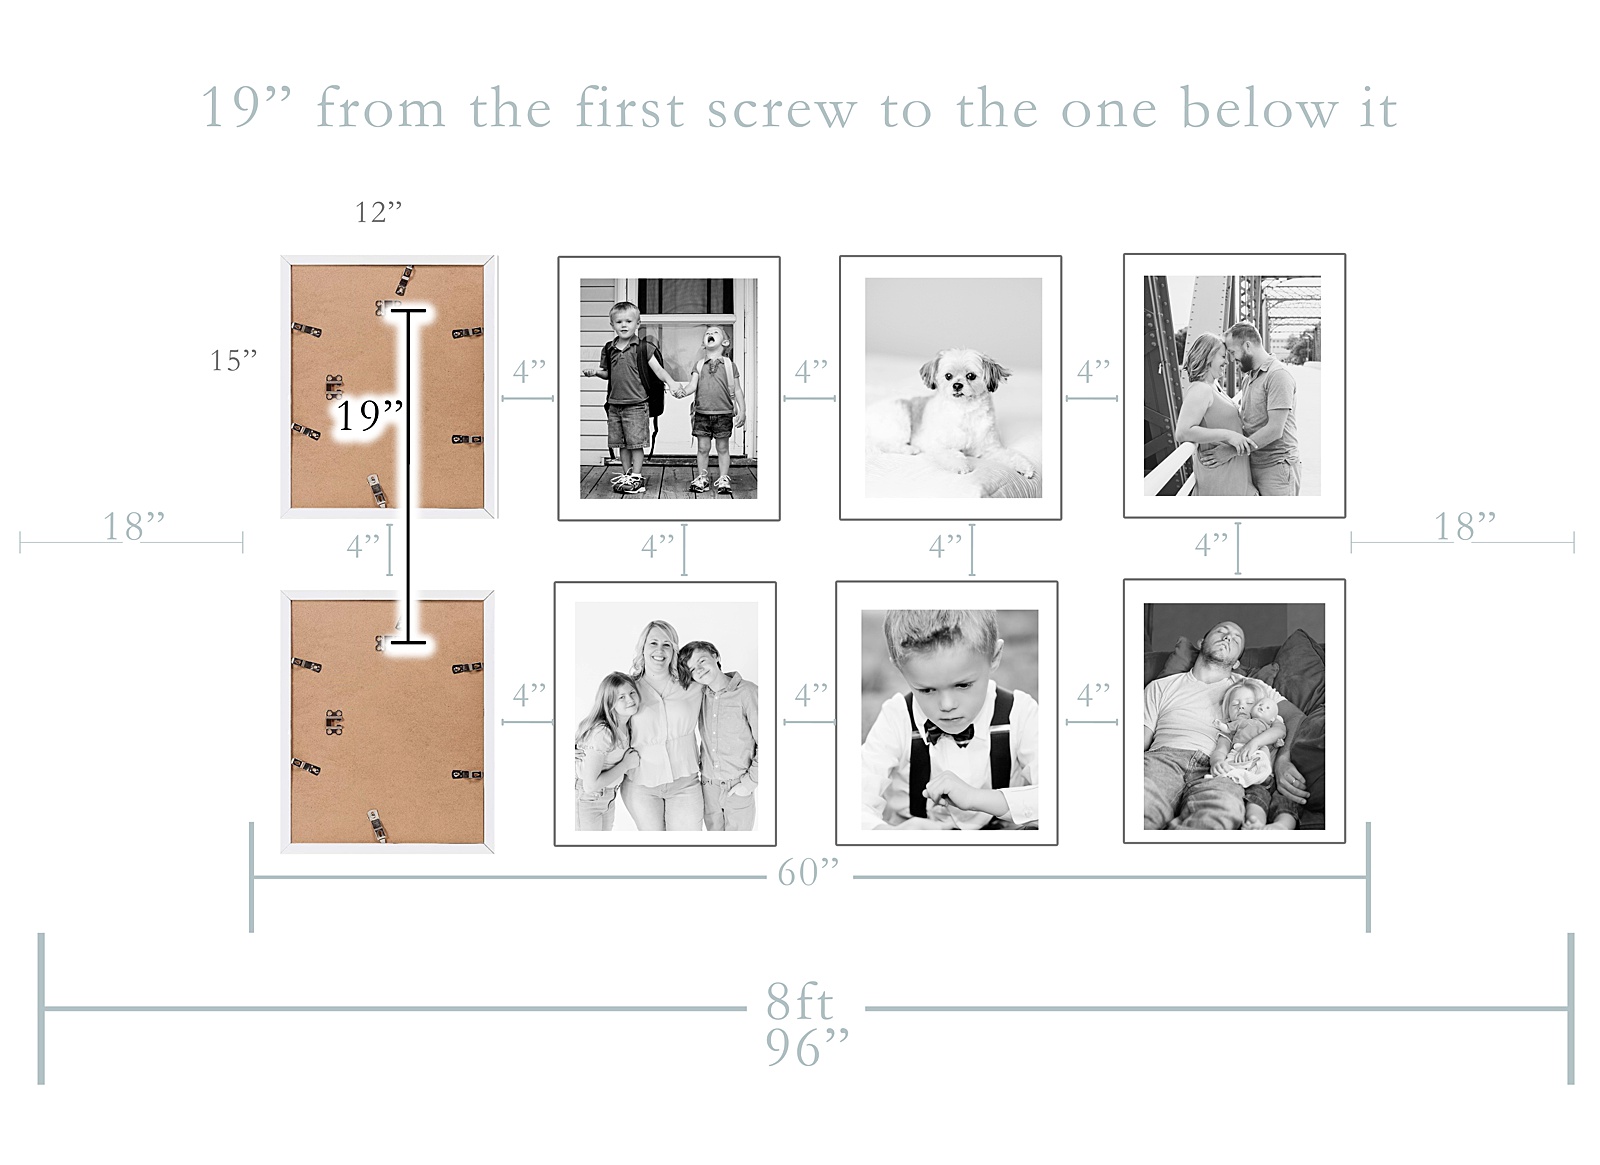
Before I even picked the photos I decided to hang the frames so that I could pick the images based on this layout. I knew each one was an 12″x15″ fame and I laid the frames on the floor to see how far apart I wanted them. I then measured the wall to see how much space I was working with. I decided to create a diagram for you so you could see how I measured everything.
When I got the frames for 8″x10″ photos the dimensions were 11 inches 13cm by 14inches and 13 centimeters. I ended up rounding up since it was so close. Maybe I shouldn’t have but I think it still looks fine so that’s what the diagram reflects. Something to note; I’m not good a math (sorry if you were looking for a perfect diagram). As you read on you’ll notice that some things don’t quite match up and that’s ok. It still turned out great even if things may not have not been exact. If you are very particular about your measurements then when you do one that’s what you’ll want to pay attention to.
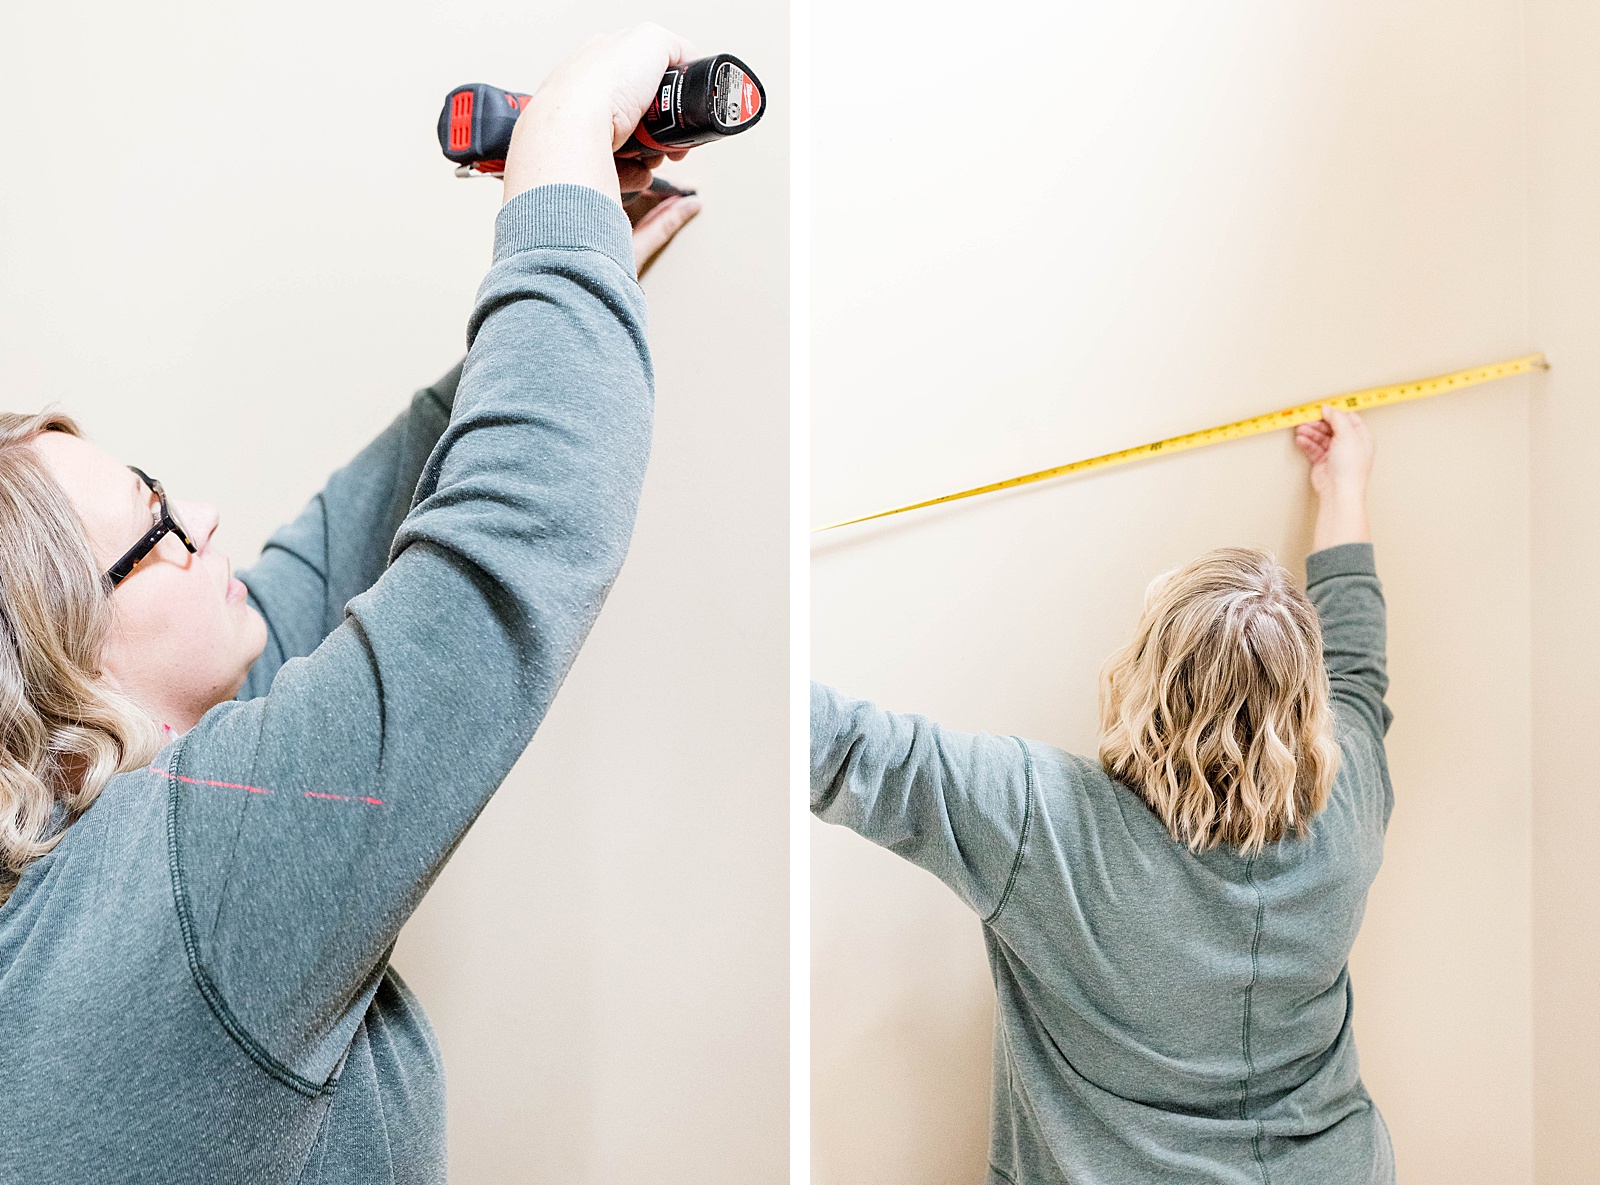

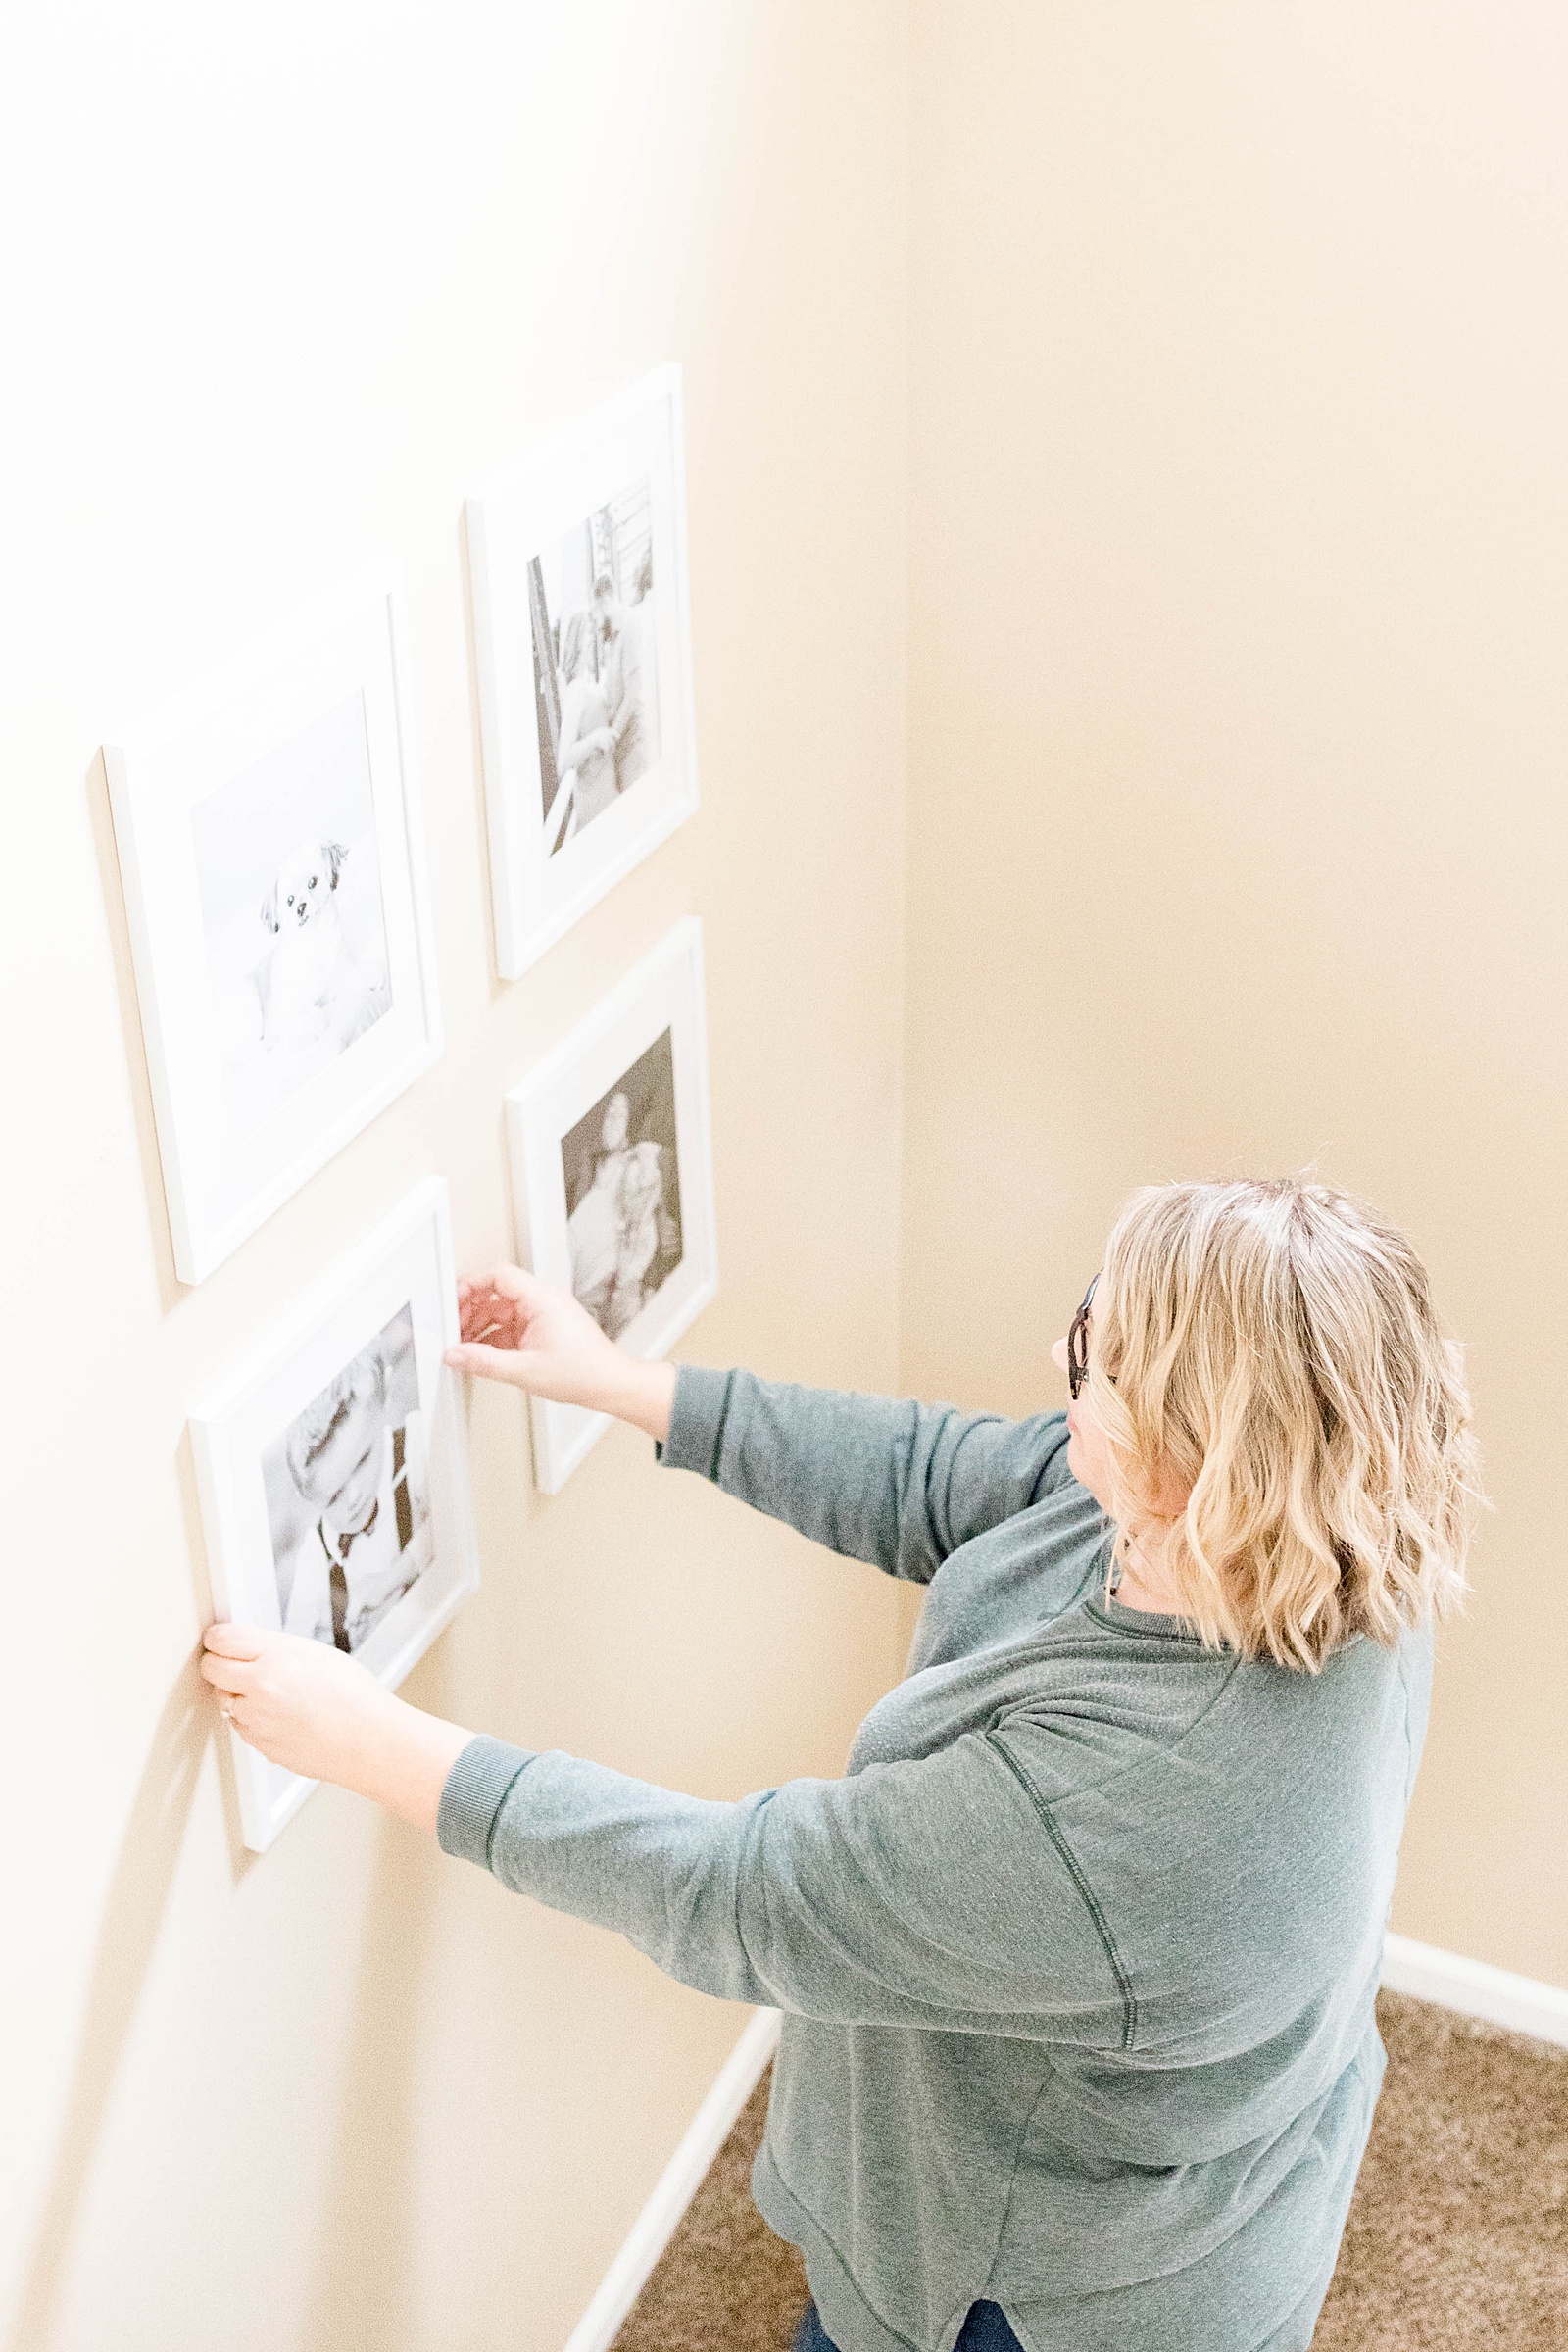
Maybe the reason this wasn’t so noticeable with the fraction of an inch off of the actual frame measurements was that I started each side from the side walls and measured in 18″+6″(side of frame to bracket center)=24″. Then I measured everything else in-between on the top row. After completing the top row I then measured down 19″ (15″+4″) to get my next hole.
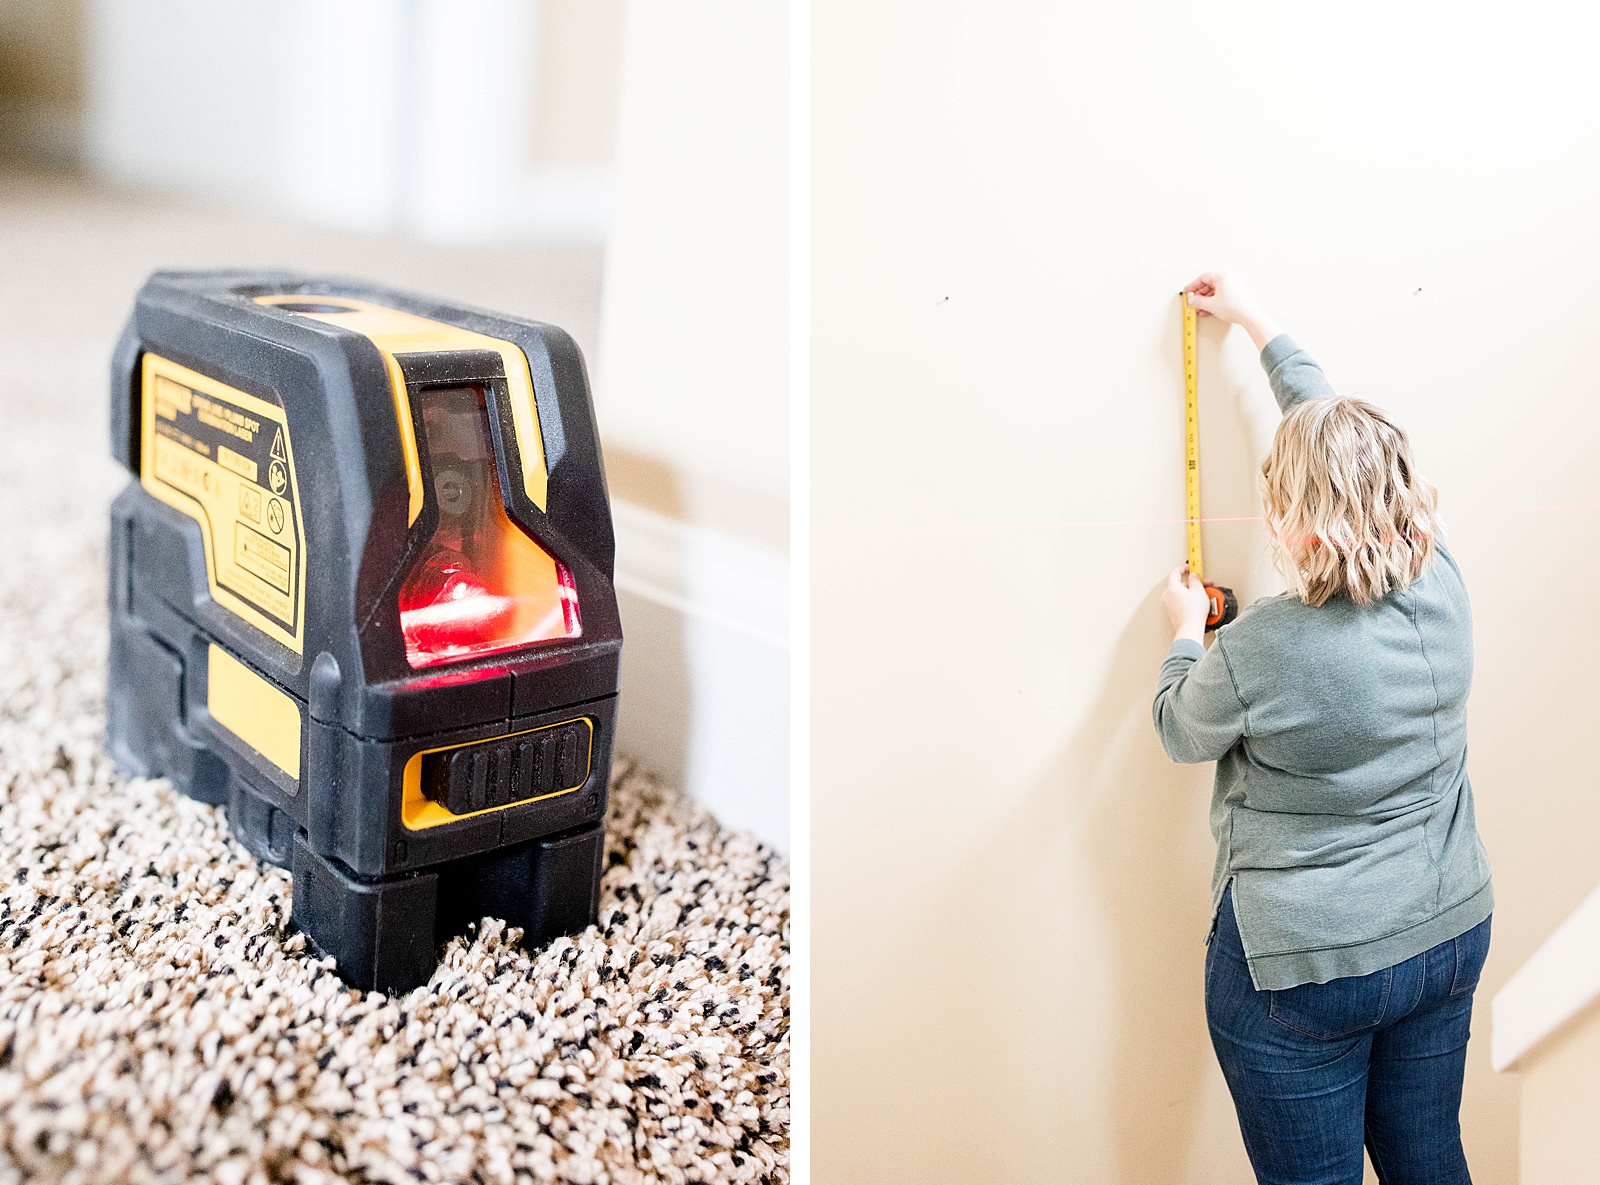
My husband has a laser level which really helped to measure off of instead of marking the whole wall with pencil. We were able to figure out where we wanted to start as far as height from the line and then know where to measure down 19″ to the next screw hole.
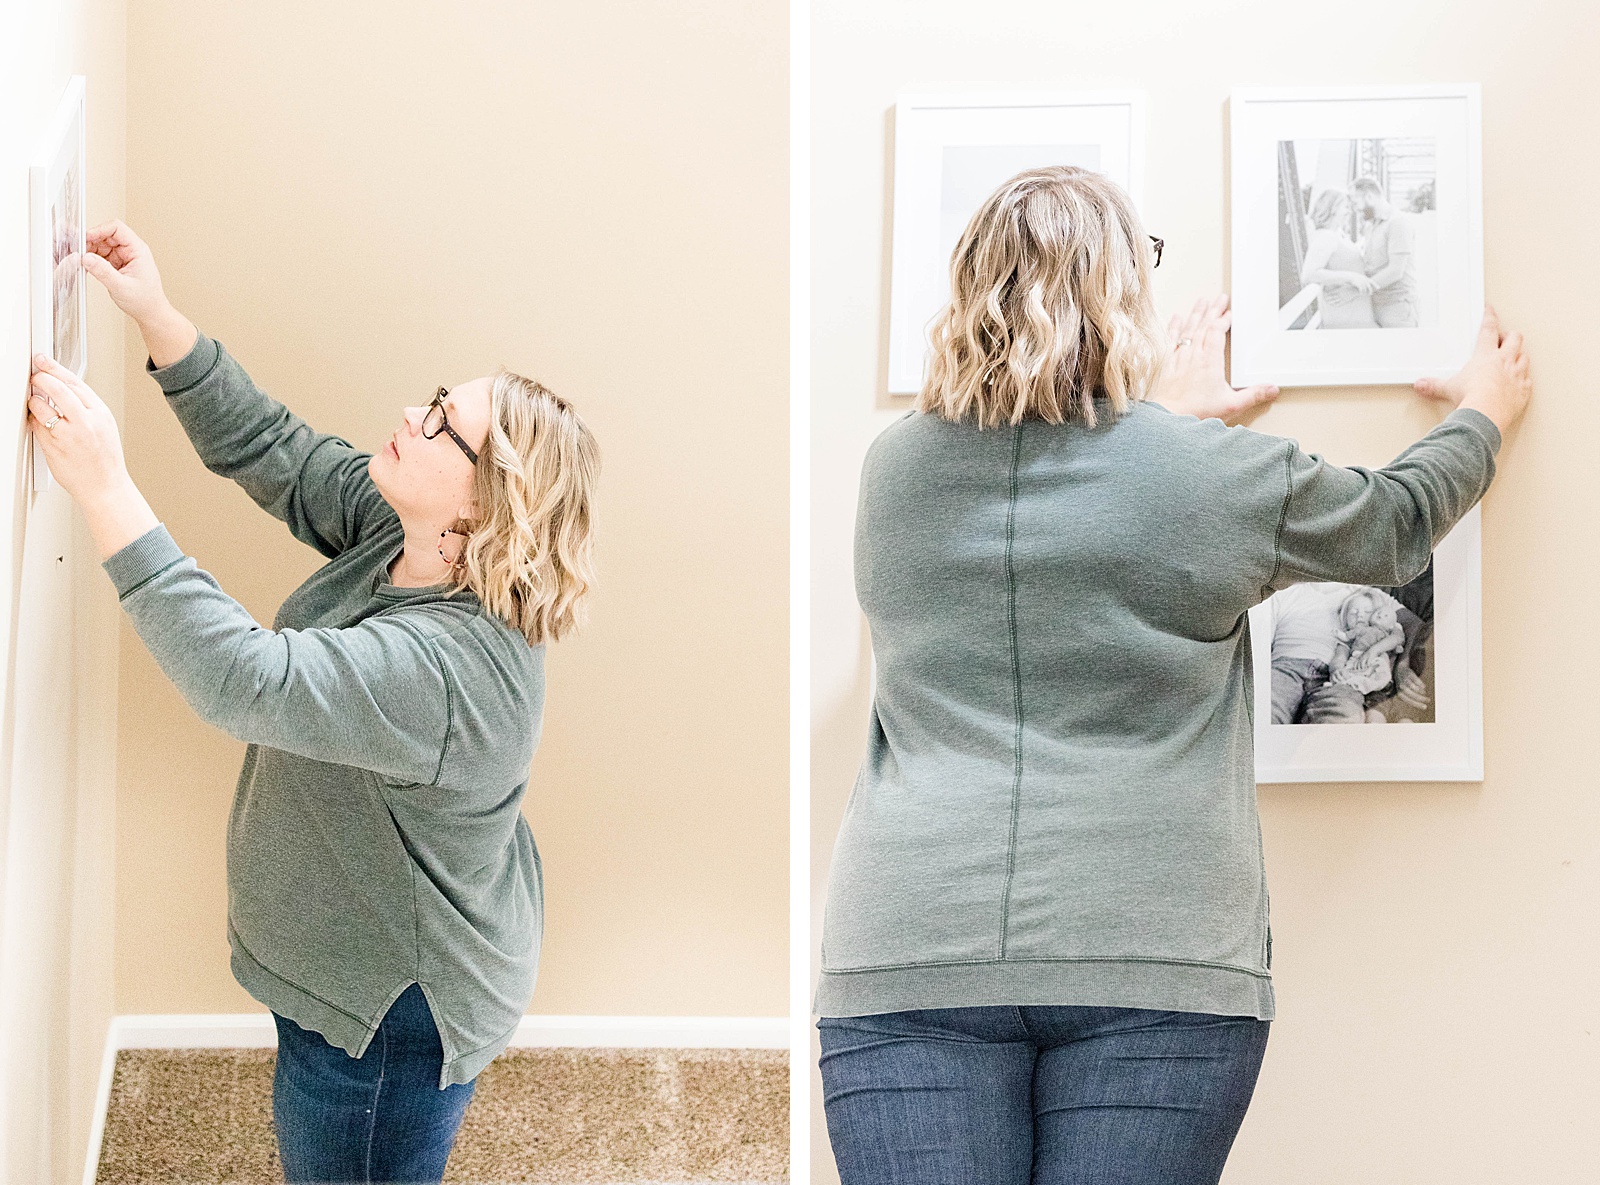
After I hung up our frames I choose my images. This was tricky because I wanted to reflect years of our family on this wall which meant I wanted to have equal number of photos of my kids and one of us with each kid so it was tricky. My style of photography has definitely changed since our kids were younger so it was hard finding photos in color to reflect that so I decided to go with black and white. The best way to showcase black and white is finding images that reflect emotion. Also I wanted to do a mix of close up photos and ones far away so that it would be pleasing to the eye as you look side to side and come up the stairs.
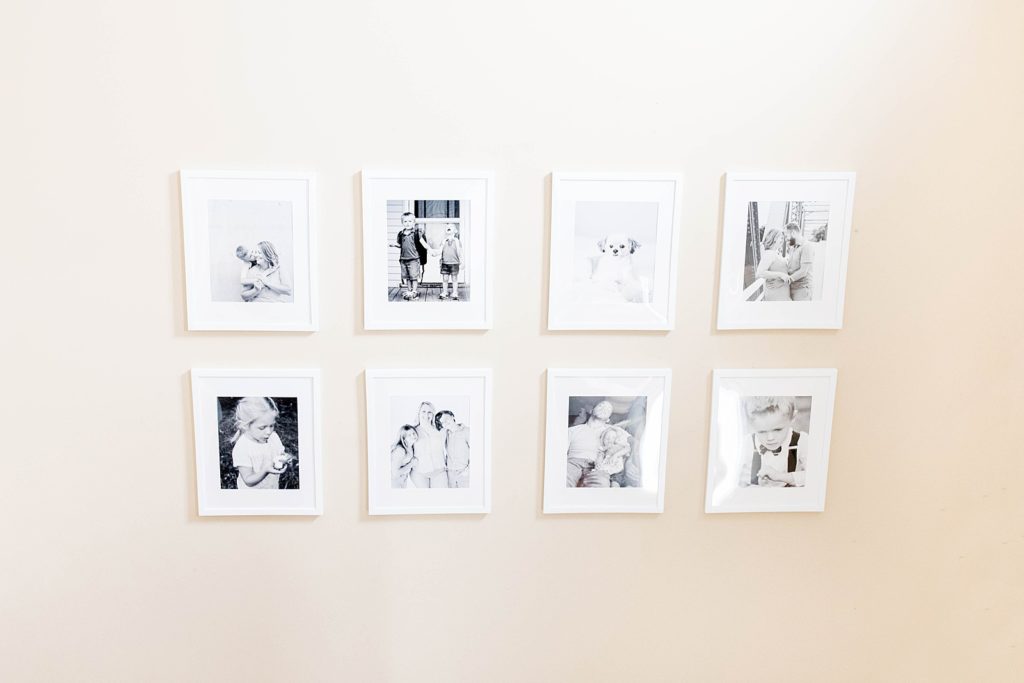
There you have it. My beautiful gallery wall.
Want the same frames? You can get them on amazon here. The ones pictured are the 8×10.
If you were really paying attention, you’ll notice that I changed the position of the two bottom right photos. I may or may not keep those in those places. I was mostly going for bold contrast to make the images appear every other frame. This was something I saw after designing. If you found this helpful send me an email. I’d love to see if you designed one yourself! karahanesphotography@gmail.com